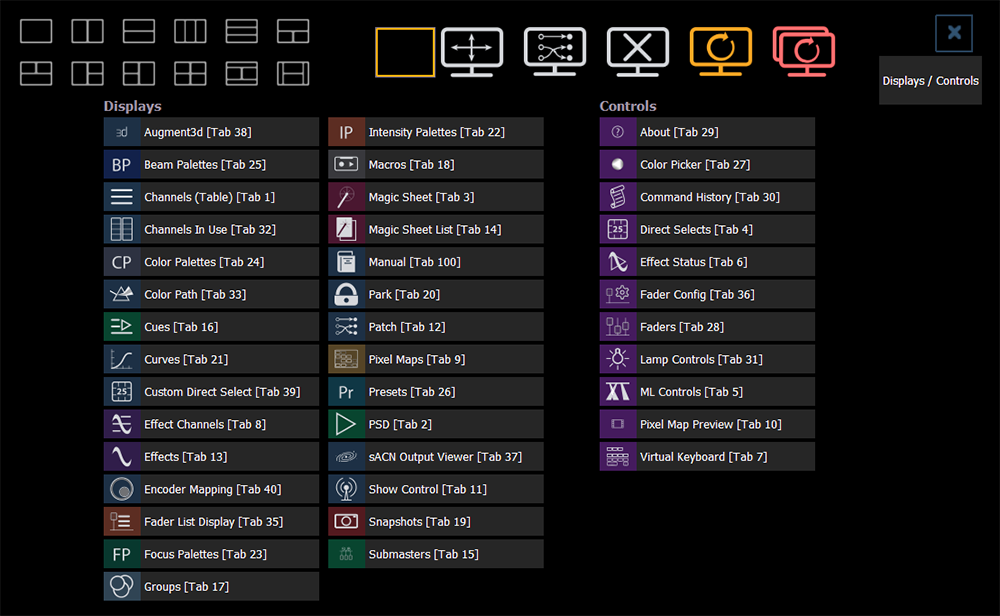
Upon start up or creation of a new show file, any connected monitor that is not already displaying the Live (Tab 1) or Playback Status Displays (Tab 2) will show the Workspace Layout Menu. This screen will also display when a new tab is opened.
This screen consists of four general areas, each offering different display-related options.
Clicking on an icon will open the appropriate display or control in a new tab.
These tools offer you greater flexibility in the number of tabs you can view in any given workspace. A workspace can have up to 16 frames. Selecting a layout icon will assign the frame layout identified in the icon. Once a layout is assigned, you can select which displays and controls will be in which frames.
This screen also offers options for opening and closing tabs as well as resizing and resetting the monitor(s).

Allows you to freely resize and edit the frames in any of the workspaces on the monitor. Select this option to activate the frame configuration grid.
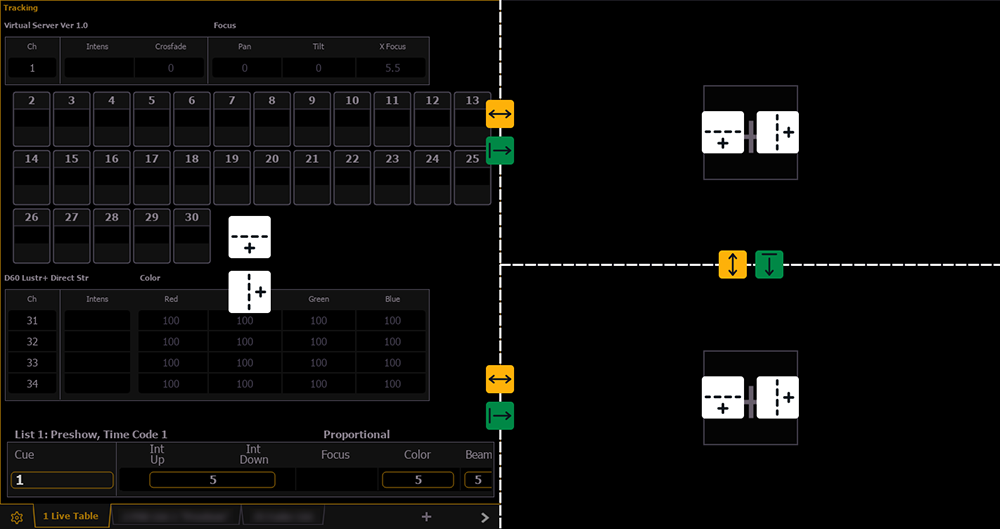
The grid includes the following tools:
|
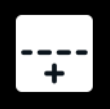
Adds a horizontal split, dividing the associated frame horizontally into upper and lower rows. |
|
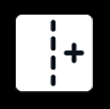
Inserts a vertical split, dividing the associated frame vertically into left and right columns. |

|
Drag left or right to freely adjust the width of the associated frames. Double-press to reset to the default horizontal size. |

|
Drag up or down to freely adjust the height of the associated frames. Double-press to reset to the default vertical size. |

|
Eliminates a split by closing the frame to the right and merging its contents into the frame to the left. |

|
Eliminates a split by closing the frame below and merging its contents into the frame above. |
Frames of the same size can be freely merged without altering the rest of the grid. Smaller frames can be merged with larger frames, but this may alter adjacent splits. A larger frame will absorb any smaller frames it is merged towards.
The grid is limited to a maximum of three splits in either direction, for up to 16 total frames per monitor/workspace.
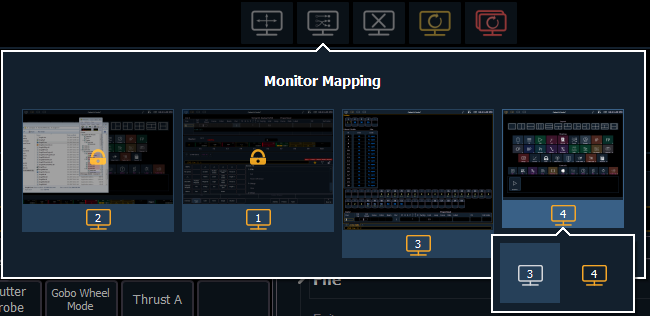
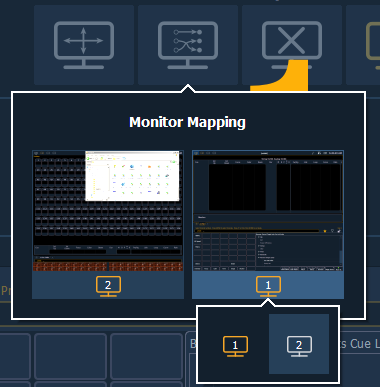
Change monitor arrangement without having to go into the ECU. This function allows you better control of your snapshots. For more information, see About Snapshots.
Click on a monitor to display the available numbers, and then click on the number to assign it.
Note: On-board touchscreens are locked, and their arrangement cannot be changed.
Closes all of the tabs in the active workspace on the active monitor only.
Closes all tabs and frames and resets the layout for the active workspace to a single frame displaying theWorkspace Layout Menu, from which you can select new tabs to open.
Closes all tabs and frames on all monitors, resets all layouts to a single frame, and returns their workspaces to the Workspace Layout Menu, from which you can select new tabs to open.
This option is only available on Apex consoles, allowing you to temporarily flip the displays upside down if the monitors are angled to face the rear of the console.
The snapshots displayed here are single monitor-only snapshots recorded for the visible workspace. For information about snapshots, see About Snapshots. These snapshots can be recalled from any selected monitor from the Workspace Layout Menu. You can recall a monitor-only snapshot from the command line by using the syntax [Snapshot] [n] [Enter]. When recalled from the command line, the selected snapshot will only affect the monitor from which it was originally recorded.
To record a monitor-only snapshot, press the {New Snapshot} button on the Display Controls menu screen. [Delete] [Snapshot] [n] [Enter] [Enter] will delete a monitor-only snapshot.
All snapshots can be viewed on the snapshot list display, which can be opened by pressing [Snapshot] [Snapshot] or from the Workspace Layout Menu.
A single monitor snapshot can be updated or deleted by right-clicking on its icon in the Snapshot area of the Workspace Layout Menu.