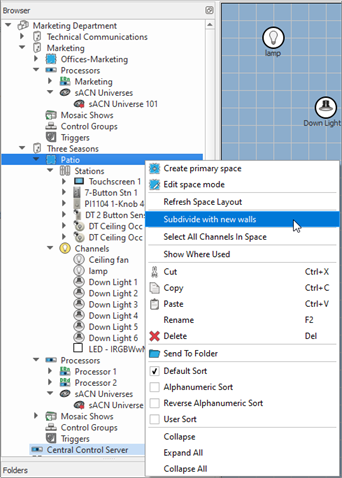
Wall partitions divide and combine sub-spaces in a primary space. Wall partitions are displayed graphically in the Plan workspace of the Design and the Program/Simulate views and are listed in the Browser beneath the selected primary space.
Note: It is always best to layout your primary and sub-spaces using the New Project Wizard, but when necessary you can modify spaces and add partition walls after the space is created.
The Design view provides the tools to layout where the wall partitions are and which sub-spaces they combine.
Subdivide a space with new walls using "Subdivide with new walls" feature.

A "Wall Layout" dialog displays. You may notice its similarity to the Project Primary Spaces dialog found in the New Project Wizard.
Tip: The subdivide feature is for primary spaces or sub-spaces that are not already combined to another space through a wall. Sub-spaces that are combined to others through walls can not be subdivided.
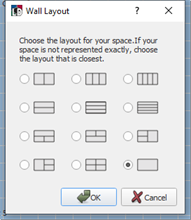
Select a layout from the dialog and click [OK]. The selected primary space will be redrawn with the new sub-spaces laid out according to the selected option, with new walls that separate each sub-space.
Add a wall partition to combine or divide sub-spaces.
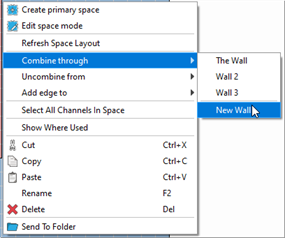

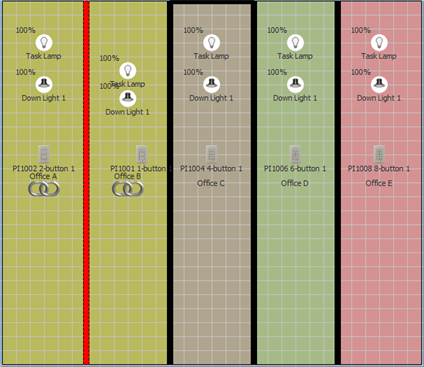
Click to select a e wall in the Browser or Plan workspace. When selected, the sub-spaces that are combined with the wall are displayed with chain links to indicate the two spaces are linked.
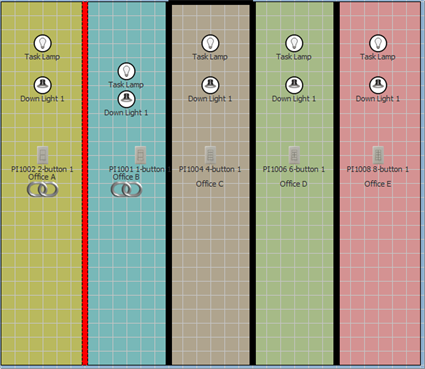
When in the Program/Simulate view, double-click on the wall to toggle its state. When the wall is open, the combined sub-spaces will change to a matching background color, indicating shared control.
You can edit the length of a wall or make it appear on multiple edges of a space. You must be in the Design view and in Edit Space Mode to access these features.