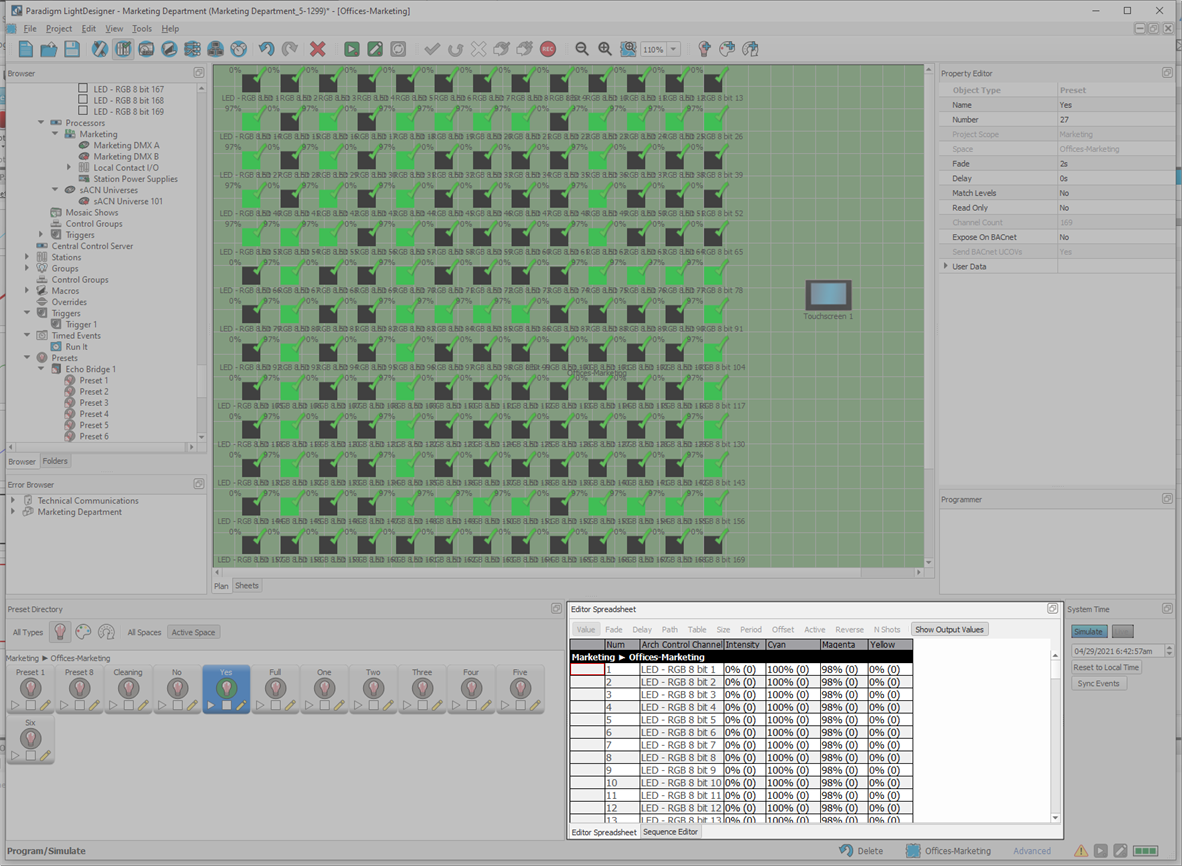
The Editor Spreadsheet is displayed only in the Program/Simulate view. The Editor Spreadsheet is a table view of channels that are in a selection. This selection could be a channel, all channels that are in a selected space, or all channels that are in a selected Preset. Use the Editor Spreadsheet to edit the stored values within Presets, Palettes and Sequence steps.

Use the Editor Spreadsheet to edit the stored values within Presets, Palettes and Sequence steps. Buttons are provided at the top of the Editor Spreadsheet (Value, Fade, Delay, Path... etc.) when an object is in Edit Mode (reference Edit Preset, Edit Palette, Edit Sequence). Use these buttons to filter the spreadsheet data, for easy viewing and editing of the specific parameter values.
In the Editor Spreadsheet, the [Show Output Values] button is available to enable display of raw values in parenthesis next to the attribute control levels. This is available in the Editor Spreadsheet at all times, regardless of whether the object is in Edit Mode.

Note: The [Show Output Values] button is not available when in Basic access level.
The data displayed in the Editor Spreadsheet is sorted first by the selection, such as a space, preset, palette or sequence, and then alphabetically by the space, and always by the highest level of space.
Tip: For a single project configuration, space hierarchy begins at the primary space, then levels down to a sub-space or area. For a server project configuration, the highest level of space would be a project, then a primary space, area, etc.
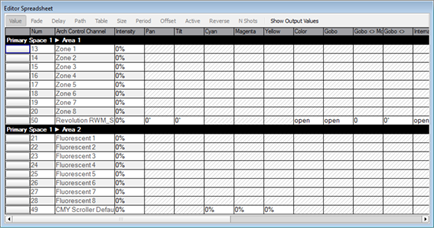
How the spaces are labeled depends on the preference selection of "Show spaces hierarchy in sheets and tables". With the Show spaces hierarchy in sheets and tables preference enabled, each level of space is separated with a ► in the label.
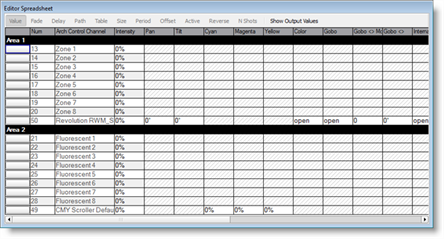
Alternatively, with Show spaces hierarchy in sheets and tables disabled, only the selected space is labeled.
Place the Preset, Palette, or Sequence in Edit Mode (reference Edit Preset, Edit Palette, Edit Sequence) to access object filtering features, such as "Value", "Fade", etc., in the Editor Spreadsheet.
Note: Typically, features within LightDesigner can be accomplished in more than one way. In this case, editing individual attributes of channels can also be accomplished in the Programmer for a selected channel or group of channels.
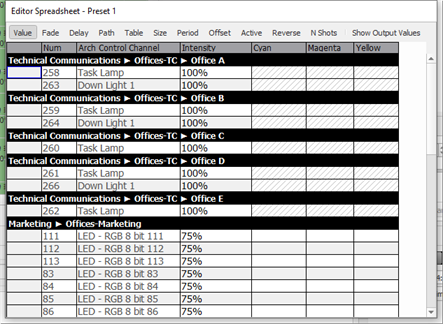
Note: Individual cells in the Editor Spreadsheet with diagonal lines  indicates a cell that cannot be edited.
The [Fade]button displays a fade time for the palettes transition.
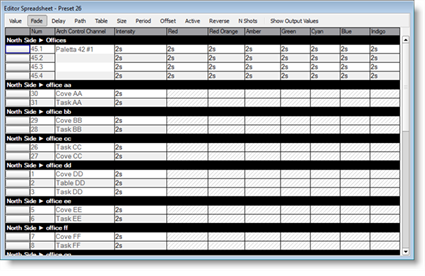
The [Delay] button displays the delay time before transition to preset or palette levels.
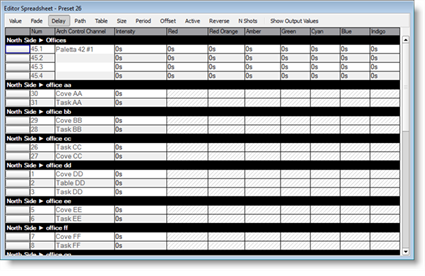
The [Path] button displays the cross-fade path used in the preset or palette transition.

The [Table] button displays effect options that can be applied to the attributes.
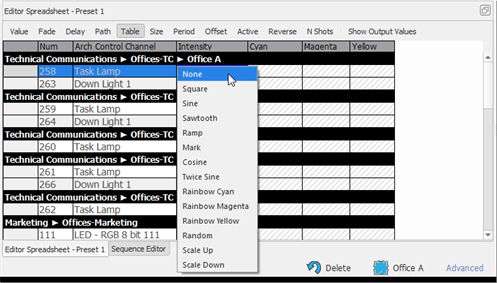
The [Size] button displays the relative amplitude (percent) of the selected table or effect.

The [Period] button displays the length of time (in seconds) for the selected table or effect.

The [Offset] button displays an offset (as a percent of 100) from time for the selected table or effect.

The [Active] button allows you to specify a period (as a percent of 100) from time that the table or effect will be applied.

The [Reverse]button allows you to reverse (yes or no as the setting) the table.

Note: When in Edit Mode, the Property Editor and the preset, palette or sequence icon in the Preset Directory, highlights in yellow and states that the object is "Locked for Edit". Property edits on other objects are not allowed until you have exited Edit Mode. When finished with the Editor Spreadsheet, click the "Edit" button on the object icon in the Preset Directory to exit Edit Mode.