Scene
Scene allows you to create single effects on any fixture within the project. These Scenes can be used later within Timelines or played back individually using triggering. These Scenes can control the following parameters either with static values or wave based effects:
- Intensity
- Colour
- Beam Shaping
- Position
- Beam Quality
- Control Parameters
- Effect Macros
- DALI (including RGB)
NOTE: Scenes are not available for the Atlas/Atlas Pro
Scene Management
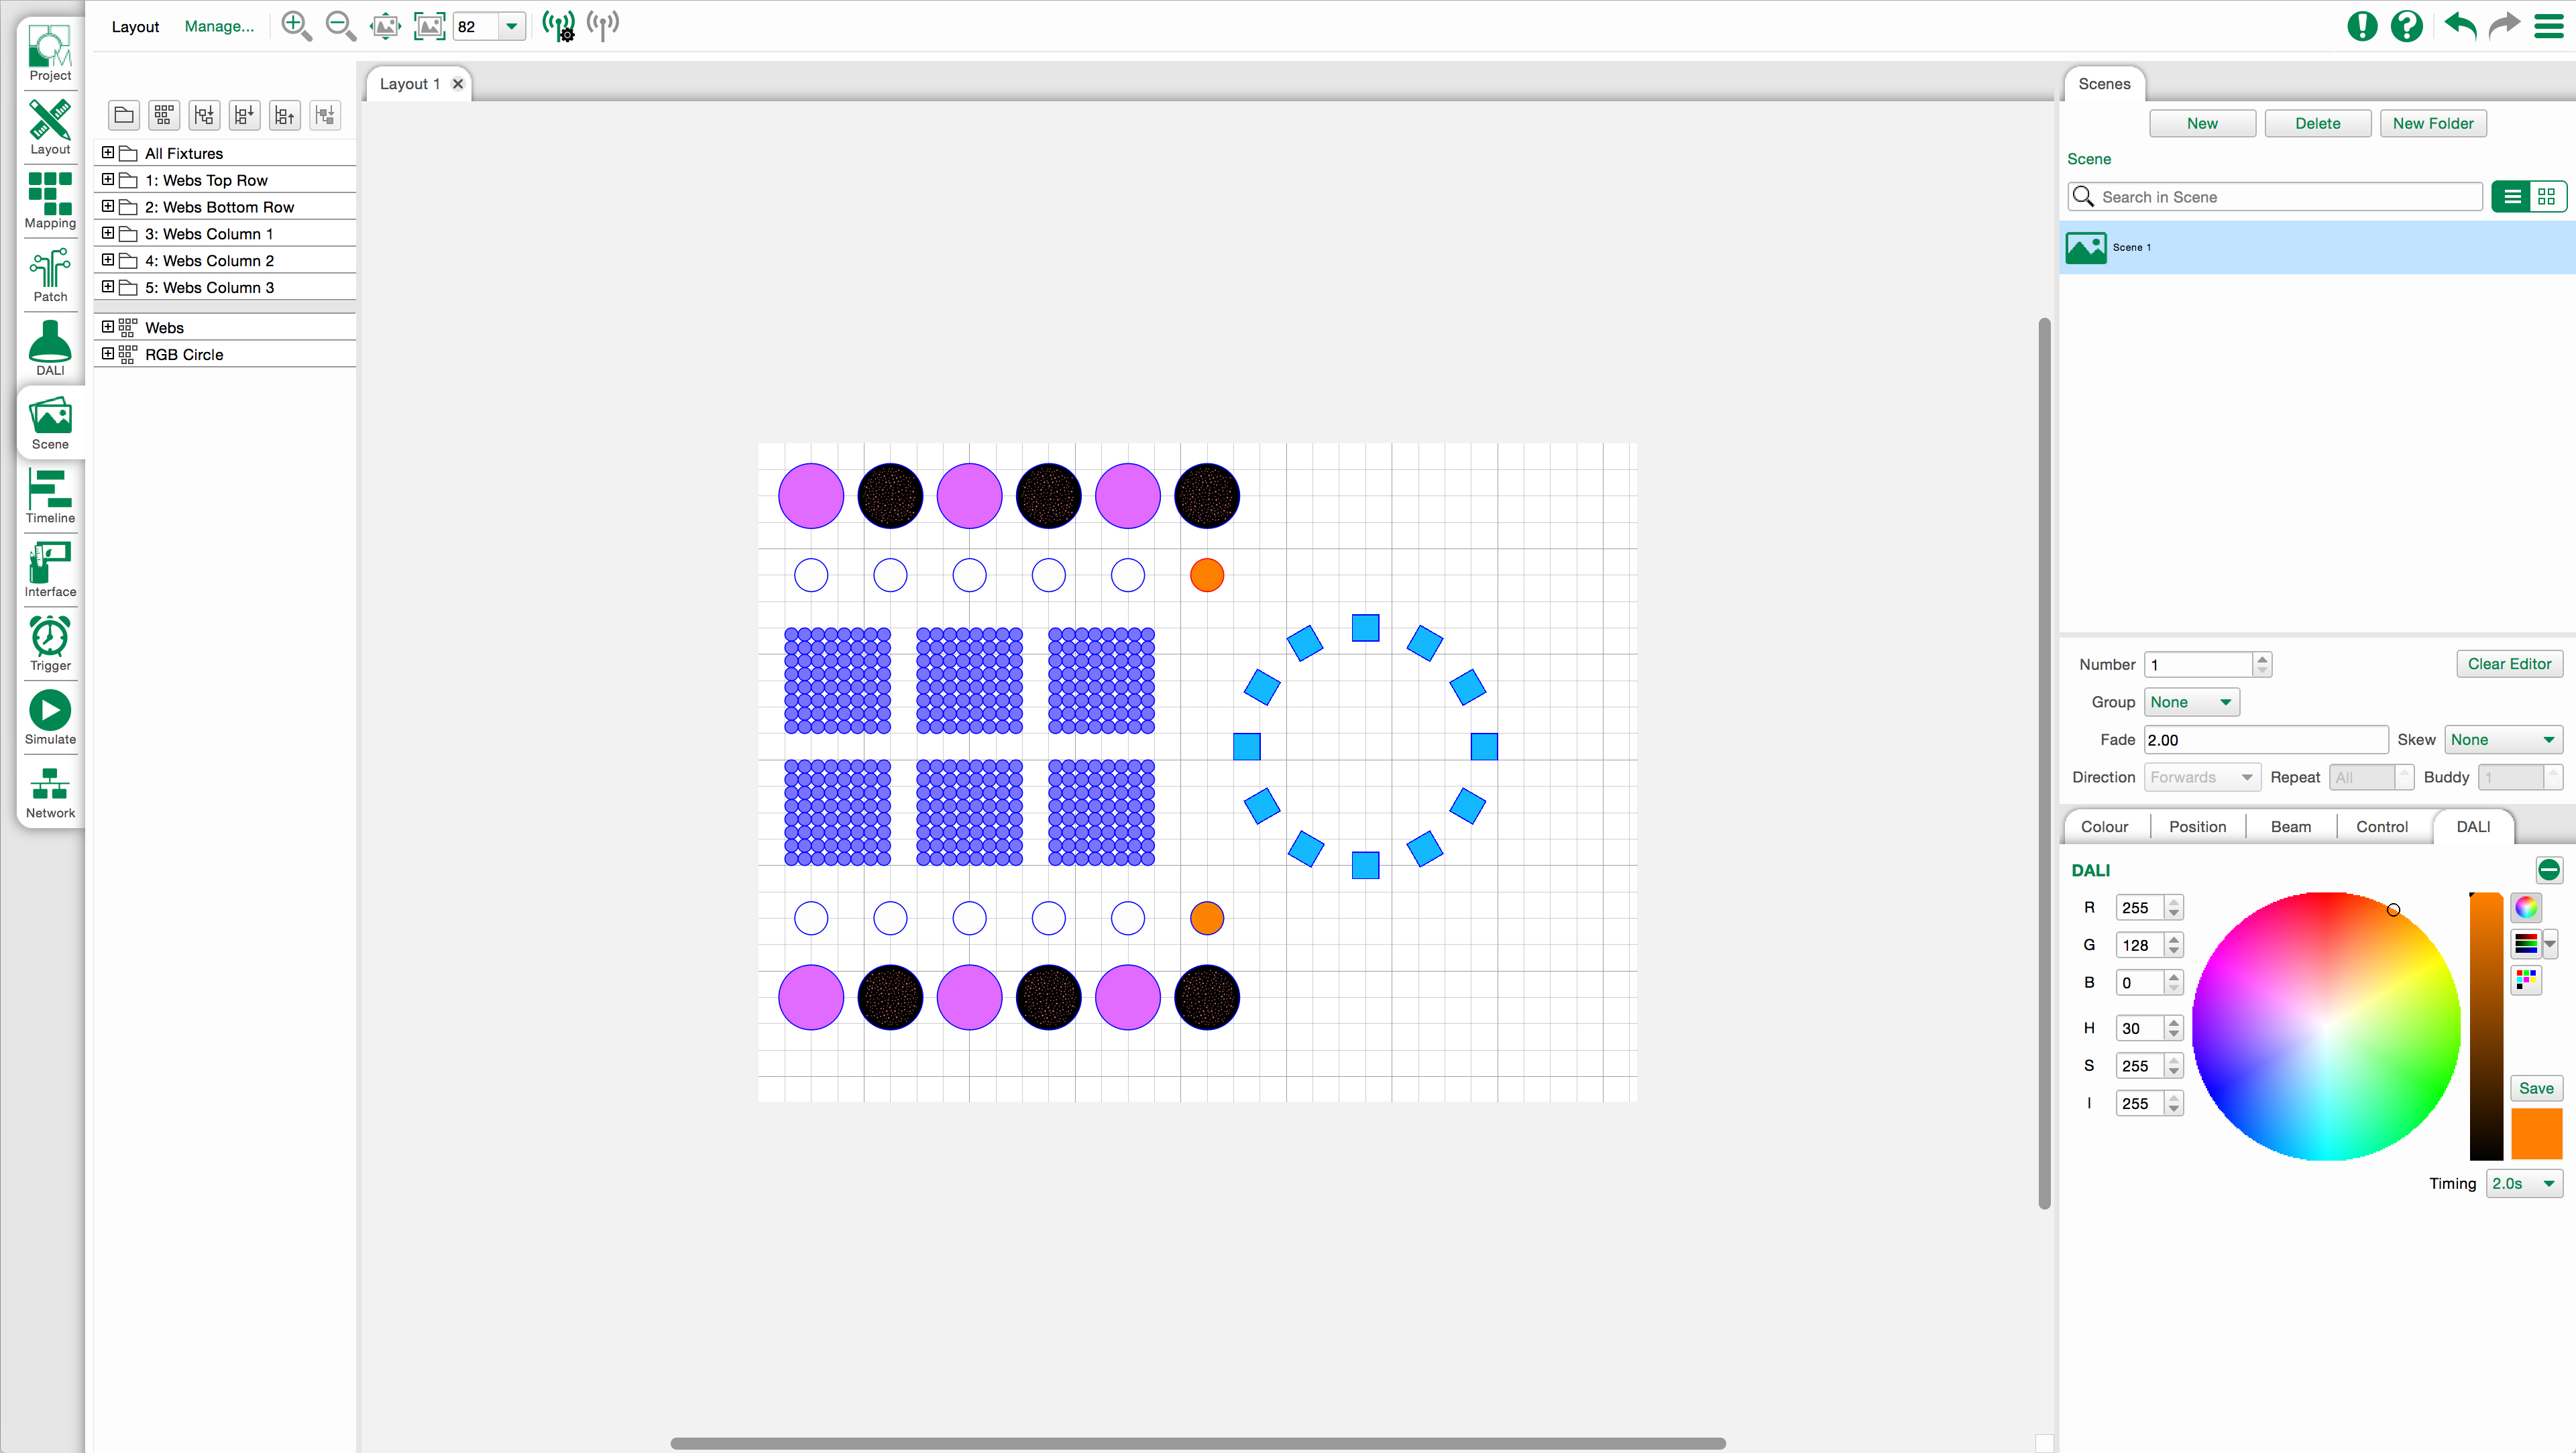
Scenes are managed in the Scene browser in the right hand section of the Scene View.
From here you can create new scenes, delete scenes and sort scenes into folders.
To create a new scene
- Choose the New button in the Scene manager
- Give the Scene a name and press Enter.
To delete a Scene
- Select a Scene in the Scene Browser and press Delete/Backspace
or
- Select a Scene and press the Delete button in the Scene browser
To create a New Scene Folder
- Press the New Folder button and Name the new folder.
- Scenes can then be created to the folder
Scene Properties
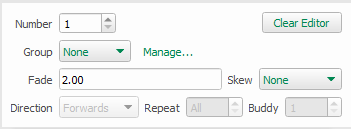
- Number - Each Scene has a unique number to refer back to it later on, which can be changed here
- Group - Scenes can be placed in a playback group to allow multiple Scenes and Timelines to be handled together within Actions. Click 'Manage...' to add, rename, renumber or delete playback groups. Numbers and names must be unique. The number of playback groups is limited to 100.
- Clear Editor - This option removes the currently selected Scene from the Scene editor and from Simulate.
The transition options below are a default and can be overridden when placed on a timeline. If the scene is run from an action, these default values will be used.
- Fade - the time taken to crossfade into this Scene
-
Skew - Various different skews can be selected to alter how individual fixtures (and elements within fixtures in the case of compound fixtures such as battens and tiles) behave within the fade, default is None which means that all fixtures/elements fade together. Use skews to create “multi-part” fades so that fixtures/elements fly in one by one for example (set to Individually) - you may have to increase the fade time to clearly perceive the skew especially with lots of fixtures/elements.
-
Direction - The ordering of a skewed transition depends on the fixture/element ordering within the group. The Skew Direction drop-down provides further ordering options such as Forwards and Backwards for additional flexibility. Additional groups can be created with different fixture/element ordering to achieve other skewed effects.
-
Repeat - Specifies the number of adjacent fixtures/elements over which a skewed transition is applied, default is All meaning that the skew will span the entire selection. Typically you set this value to be equal to the number of pixels in a compound fixture or the number of fixtures in a zone or on a truss, experimentation is recommended as interesting effects can be achieved.
- Buddy - Specifies the number of fixtures/elements that will fade together within a skewed transition, default is 1 meaning that each fixture/element will fade independently. Set to 2 to make pairs fade together, 3 for threesomes etc. Again, experimentation recommended.
Scene Contents
To control a fixture in a scene
Select a fixture in the layout in the centre of the view. The fixture will get a red border to indicate selection.
Only fixtures with programming on them in a Scene will be controlled by the scene.
Once you add control of a parameter to a fixture it will get a blue border.
To directly control the colours of a fixture
Some fixtures within a Scene allow control of non-RGB/CMY colours directly within the Colour control. Choosing Direct Control with a fixture that supports additional colours to RGB will provide direct control of these colours
To add control of a parameter group
Locate the parameter group which contains the parameter you want to control.
Use the appropriate controls within the parameter group to set the value/s for the required parameter.
Static values
Within a parameter group, there will be controls for each parameter, either with buttons for specific values or a slider for a range of values.
FX
If you want to run an effect on the parameter, use the FX button to apply a wave effect to the parameter.
Position Effects
Clicking the FX button in the Position tab presents options for position effects when using fixtures with pan and tilt. The following parameters are available.
Shape:
The shape of the path the fixture will follow.
-
Circle - Fixture rotates around an axis
-
Pan Sine – Back and forth along X axis
-
Tilt Sine – Back and forth along Y axis
-
Eight – Figure of 8 loop
-
Infinity – 90 degree rotated figure of 8 loop
Direction:
The direction in which the fixture moves around the shape.
-
Forwards – Normal rotation
-
Backwards – Reverse rotation
Period:
How long the fixture takes to complete one circuit of the shape in seconds.
Style:
Whether the fixture completes a circuit of the shape once or loops. Or, if using multiple fixtures, whether they all complete the shape simultaneously, spread, or one after the other.
-
None – All fixtures follow the same path in a continuous loop.
-
Spread – Fixtures repeat the same path with a time offset between fixtures.
-
Chaser – Fixtures follow the same path one by one in a continuous loop.
-
Once – All fixtures follow the same path only once.
-
Chaser Once – Fixtures follow the same path one by one only once.
To remove control of a parameter group
Locate the parameter group that you want to remove and select the ![]() Knockout button. This will remove the selected parameters from the Scene.
Knockout button. This will remove the selected parameters from the Scene.
Scene Simulation
When you are creating a Scene, the Scene will be simulated within the Scene view, and the Simulate view.
This will be held until the Clear Editor button is clicked, allowing you to visualise a Scene and a Timeline in Simulate at the same time.