To delete a macro step, hover your mouse over the step to be deleted and click the red "X" located on the right side of the title block.

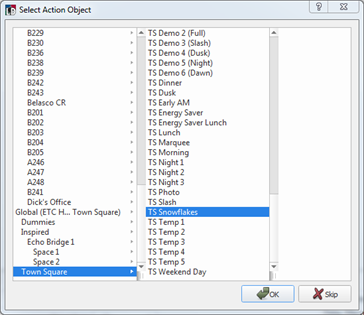
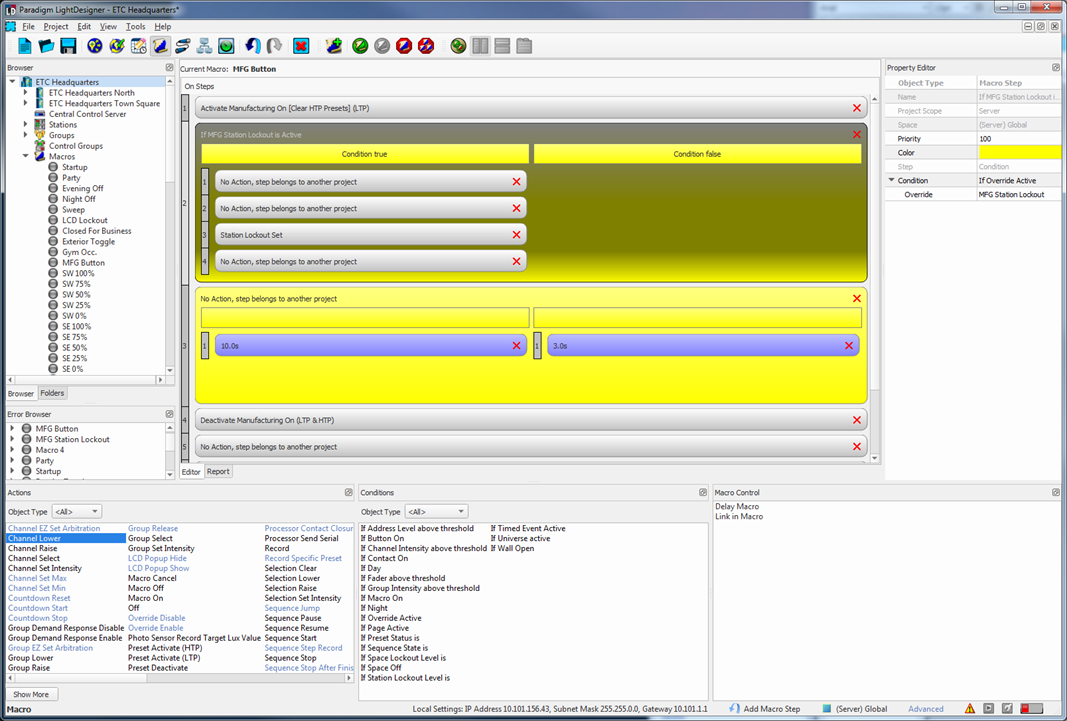
A macro condition is a feature in the Macro view that allows you to design a complex macro, adding an action or set of actions that are executed only "If" certain criteria are met. To use a condition in the macro steps, drag the condition from the "Conditions" list and drop it beneath the desired macro step.
With the "Condition" still selected, you may review and change any property from the Property Editor. As well, you may drag and drop additional actions from the "Action" list into the "Condition".
The condition parameters are set in the Property Editor of the selected condition. When the condition is built, you may continue building the steps for the macro.
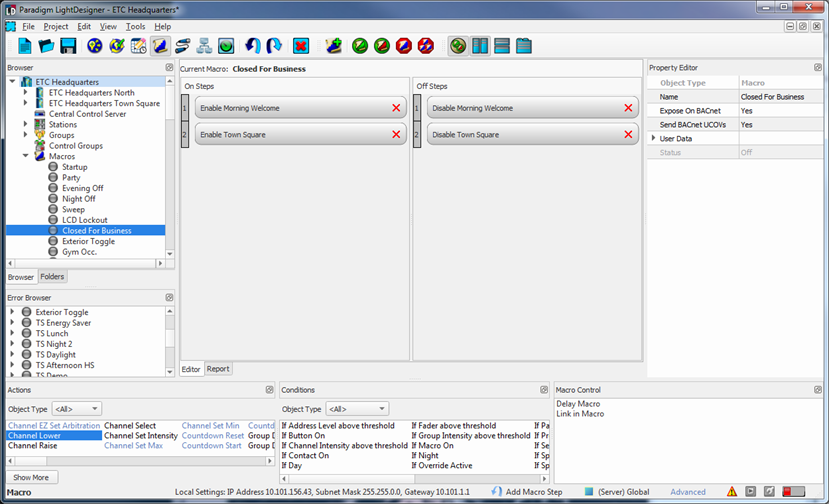
Macros can possess a toggle state and have unique steps assigned to each "On" and "Off" states of the macro. When a toggled macro is executed the first time, the "on" steps will be performed. When the macro is executed a second time, the "off" steps will be performed. Additionally you may assign a button to play specifically the "On" or "Off" steps of a macro.
The advantage of creating a toggle macro instead of creating two separate macros is that any button assigned as a macro toggle can also be configured to reflect the macro state on the station LEDs. This feature allows you to activate the macro "On" steps from one location and the "Off" steps from another.
 (side by side, stacked, or the default tab view) are available to display the On / Off steps in the Macro workspace. See "Macro Editor Toolbars".
Drag and drop a macro control from the "Macro Controls" list into the macro steps. Two macro control options are available including; "Delay Macro" and "Link in Macro".
The delay macro feature allows you to specify a delay time before the next step in the macro is performed. For instance, when preset activations are placed in a macro back to back, the presets will not finish the fades before the next one plays unless you specify a delay between each preset, set for at least as long as the preset fade time.
The link in macro feature allows linking to a specific macro step in a looping or conditional macro. For instance, if the macro is written to toggle open a wall partition then run a looping series of presets. Adding a "Link In Macro" control as the last step in the macro and setting the property to "Jump to step 2", bypasses the wall toggle step.