Export a load schedule by selecting "Export Data > Load Schedule" from the "Project" menu.
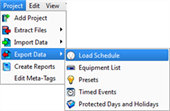
The "Export Load Schedule" dialog will display for folder selection where the file should be saved.
Load schedules can be exported from a LightDesigner configuration using the "Export Data" feature in the "Project" menu. After exporting, you can edit the data in a spreadsheet, then import the load schedule back into the same configuration or into a new configuration.
Export a load schedule by selecting "Export Data > Load Schedule" from the "Project" menu.
The "Export Load Schedule" dialog will display for folder selection where the file should be saved.
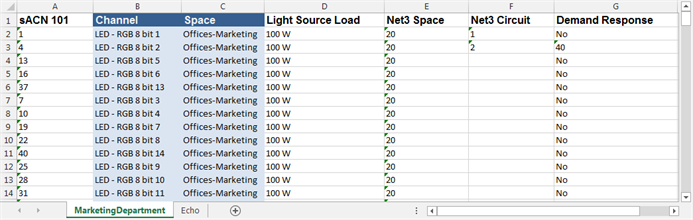
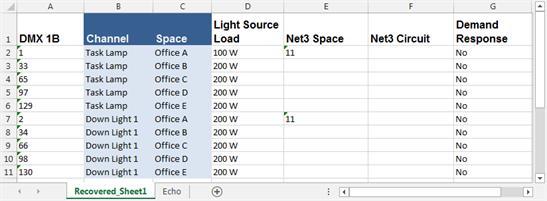
The examples above show data that was exported directly from sample LightDesigner projects using the "Export Data > Load Schedule" feature.
When viewing reports, any columns that are titled with parentheses, beyond the schedule samples above, are meta-tags which are the custom column labels for any metadata that may be included with specific objects in your configuration.
Demand Response is used by building management systems to respond to the power utility's demand to reduce power consumption in exchange for discounts or reductions in rates charged by the utility.
A channel (load) can be included or excluded from Demand Response. When included in Demand Response, the load can be shed, meaning it can be turned completely off, or it can be set to a reduced output according to user specification.
In the first spreadsheet example above, line 3, the load is set for inclusion in Demand Response and is set for an output maximum of 40%. This means, if a preset is active and that channel is set to 100% intensity, the load will be reduced to 40% intensity instead. If the channel is set to 35% intensity, Demand Response will have no affect on the channel's intensity level.
To include a channel in Demand Response using the Load Schedule spreadsheet, simply enter the maximum value in the Demand Response column for that channel.
See Energy Management topic for more information.