Open topic with navigation
Preset Directory
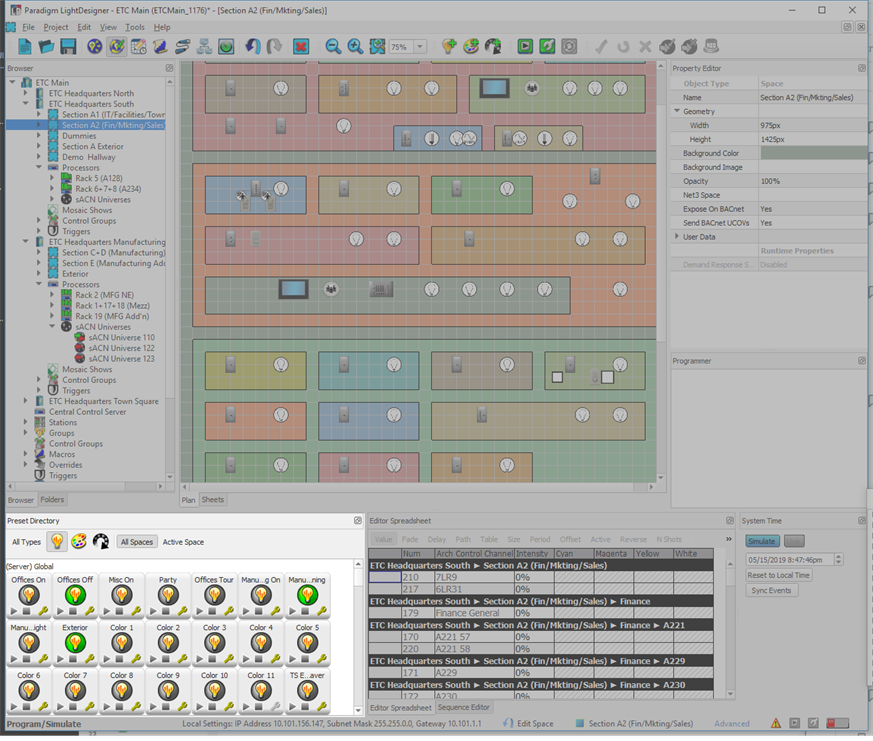
The Preset Directory is displayed only in Program/Simulate view. The Preset Directory is a repository of all presets, palettes and sequences in the entire project, selected space or active space depending on the settings.
Displaying and Filtering Presets, Palettes and Sequences
Click the [All Types] button to display all presets, palettes and sequences that are in the project (or server project). Click the [Presets]  button to display only presets in the directory. Click the [Palettes]
  button to display only palettes, or click the [Sequences]
  button to display only sequences in the Preset Directory.
You can additionally filter the objects that are displayed in the Preset Directory by selecting either the [All Spaces] or [Active Space] button.
 Example of Displaying and Filtering
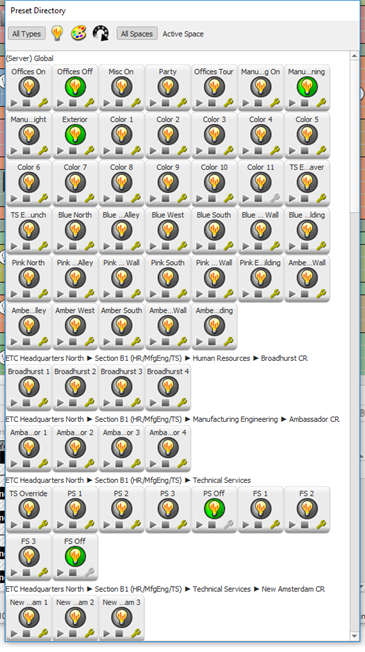
In the above example, both [All Types] and [All Spaces] is selected. Notice that the objects are sorted by space, starting with the "(Server) Global" project, at the top, then moving down the project list including all primary and sub-spaces.
If instead, the [Active Space] button was selected, the directory would show only the objects that are in currently selected space.
Space Hierarchy in Preset Directory
By default, presets, palettes and sequences are displayed in the Preset Directory by the space they affect. Depending on the display and filter criteria set as well as the preferences set, the Preset Directory could display an entire space hierarchy path.
When "Show spaces hierarchy in sheets and tables" is set in preferences, the primary space is listed first, followed by the sub-space, and then the area. As many levels of space as are designed.
The breadcrumb can be set to show only the primary space and sub-space by disabling the feature in space preferences.
Create Preset, Palette or Sequence
There are many ways to create a preset, palette or sequence in LightDesigner. Specifically, to create a preset, palette or sequence from the Preset Directory, right-click inside the directory and select "Create Preset", Create Palette" or Create Sequence" from the context menu. A new preset, palette or sequence will be created and will be automatically selected. If "Create Sequence" was selected, the Sequence Editor displays for sequence creation.
Select Included Channels
Right-click on a preset, palette or sequence in the Preset Directory and choose "Select Included Channels". All channels that are included in that object will be selected and display in the Editor Spreadsheet as well as in the Plan, Sheets or Channel Properties workspace, whichever is in focus.
Edit Preset, Palette or Sequence
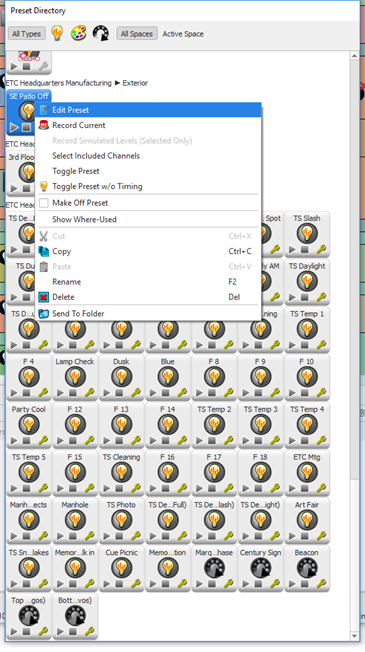
There are many ways to place a preset, palette or sequence into Edit mode. Specifically from the Preset Directory, right-click on the object and select "Edit Preset", "Edit Palette" or "Edit Sequence" from the context menu.
Alternatively, click the wrench button  on the palette, preset or sequence icon to place that object into Edit mode.
Send to Folder
In the Preset Directory, click to select a single preset, palette or sequence or select multiple objects by pressing and holding the (Ctrl) button on our keypad and left click on additional objects to add them into the selection. Right-click and select "Send to Folder" from the context menu . A "Send to Folder" dialog displays for selection of all folders that are available for selection.
Note: Smart Folders will not display in this dialog as they can only include dynamically generated data; no manual data drops are allowed.
Presets
The following are preset specific features are found in the Preset Directory. Most all features in LightDesigner are achievable through more than one method. This section is specific to how to use these features from the Preset Directory.
Toggle Preset
Right-click on a preset in the Preset Directory select "Toggle Preset" or "Toggle Preset w/o Timing".
- Selecting "Toggle Preset" activates or deactivates the selected preset with the Fade and Delay times that are recorded. The selected channels and attributes in the preset will activate or deactivate to their recorded levels gradually over the fade and delay times specified. Reference the Property Editor for a selected preset to edit these settings.
- Select "Toggle Preset w/o Timing" to activate or deactivate the preset without Fade or Delay times. All channels and attributes in the preset will activate or deactivate to their recorded levels immediately.
Off Preset
An "Off Preset" is a preset that will be used by the "Off" action. Instead of using the default "Off" look of zero percent intensity for all channels in the space, the Off action will recall the levels stored in the "Off Preset". This preset is applied anytime the "Off" status is true and can be used to create "glow" looks.
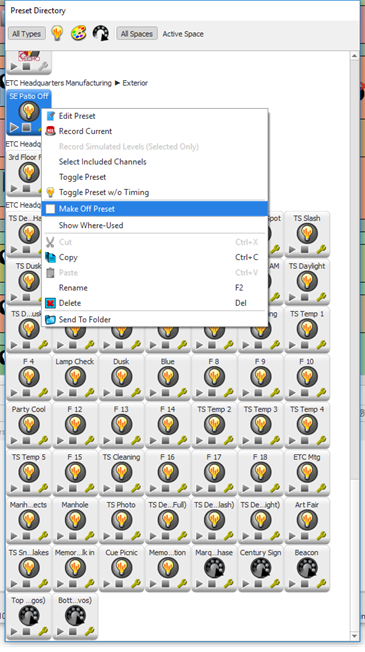
Right-click on any preset in the Preset Directory and select "Make Off Preset" from the context menu.
The selected preset will indicate "OFF" in the top left corner of the icon in the Preset Directory  .
.
Note: Only one "Off Preset" is allowed per Paradigm system. This preset can affect any channels including those from one sub-space or channels throughout an entire project.
Recording a Preset
Record values of selected channels into a preset using the tools in the context menu of a selected preset in the Preset Directory.
First set the values desired for the selected channels, then right-click on the desired preset icon in the Preset Directory and select either "Record Current" fror the active space only, or "Record Simulated Levels (Selected Only)" from the context menu.
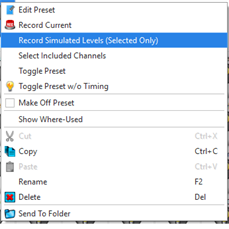
LightDesigner will store the values in the active space or the currently selected channels only at their current levels into the selected preset.
Palettes
The following are palette specific features are found in the Preset Directory. Most all features in LightDesigner are achievable through more than one method. This section is specific to how to use these features from the Preset Directory.
Apply and Apply All
The "Apply" and "Apply All" features can be used to apply a palette to a preset or to channels while in simulation.
Apply a Palette in Simulation
Applying a palette applies its stored levels to the channels so that you can see in simulation the affects of the palette alone.
Note: Levels are applied without fade when played using the "Apply" command. There are two commands available including; "Apply", which applies only to a particular channel selection, and "Apply All" which applies to all channels included in the palette. Each command is available in the context menu of the palette icon located in the Preset Directory.
To apply any recorded palette click on the [Apply Palette] button  found on the palette icon
  located in the Preset Directory.
Note: The "Apply" feature only applies to selected channels. With no selected channels, an implicit "Apply All" will occur. This also applies to the "Apply" button on the palette icon.
Sequences
The following are sequence specific feature is found in the Preset Directory. Most all features in LightDesigner are achievable through more than one method. This section is specific to how to use these features from the Preset Directory.
Start Sequence
Playback a sequence by pressing the "Start Sequence" button  on the sequence icon in the Preset Directory. When a sequence is playing back, the play bar will indicate progress on the timeline in the Sequence Editor.