Wall partitions divide and combine sub-spaces in a primary space. Wall partitions are displayed graphically in the Plan workspace of the Design and the Program / Simulate views and are listed in the Browser beneath the selected primary space.
The Design view provides the tools to layout where the wall partitions are and which sub-spaces they combine.
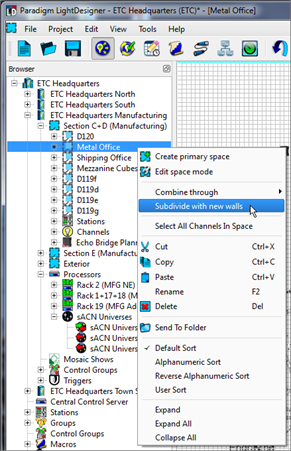
Subdivide a space with new walls using "Subdivide with new walls" feature.
A "Wall Layout" dialog displays (notice its similarity to the Project Primary Spaces dialog found in the New Project Wizard).
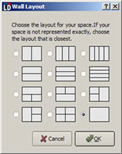
Select a layout from the dialog and click [OK]. The selected primary space will be redrawn with the new sub-spaces laid out according to the selected option, with new walls that separate each sub-space.
Add a wall partition to combine and divide sub-spaces.
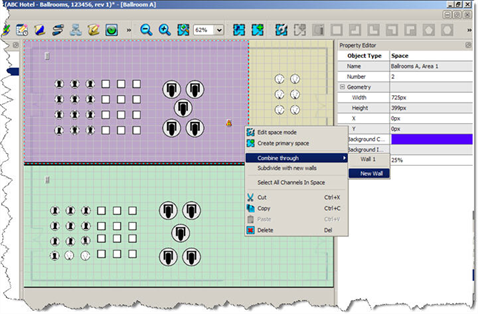
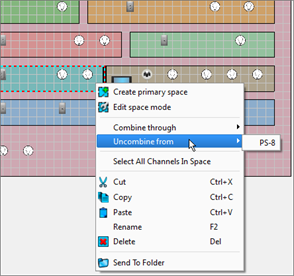
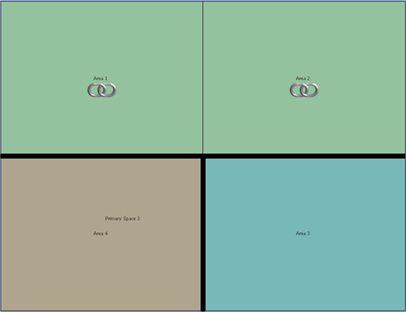
Click on the wall in the Plan workspace or select the wall from the list in the Browser or Folders. When selected, the sub-spaces that are combined with the wall are displayed with chain links to indicate the two spaces are linked.
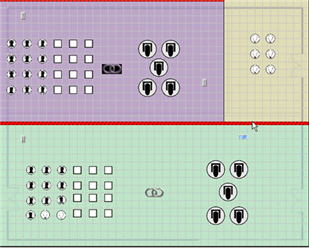
When in the Program / Simulate view, double-click on the wall to toggle its state. When the wall is open, the combined sub-spaces will change to a matching background color, indicating shared control.
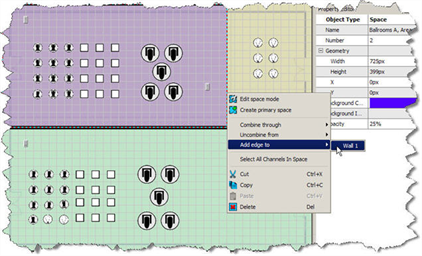
It is possible to edit the length of a wall or make it appear on multiple edges of a space.
Right-click on the edge of the sub-space that you want to add an edge and select "Add edge to..." from the context menu. The graphic below displays adding an edge to Wall 1.
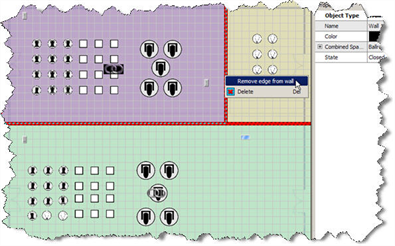
Right-click on the wall edge to be removed and select "Remove edge from wall" from the context menu. The graphic below displays removing an edge from Wall 1.